Browsing the List of Ontologies and Selecting One
To see the list of all Managed Ontologies and to select a desired ontology, follow the steps below.
- Go to ‘Semantic Models’ tab in the Studio.
- Click the Ontologies tab in the left section. It is first and the default tab in the Semantic Models hence you will get to the next step directly most of the time.
- On the left panel the list of Managed Ontologies will get loaded as seen below.
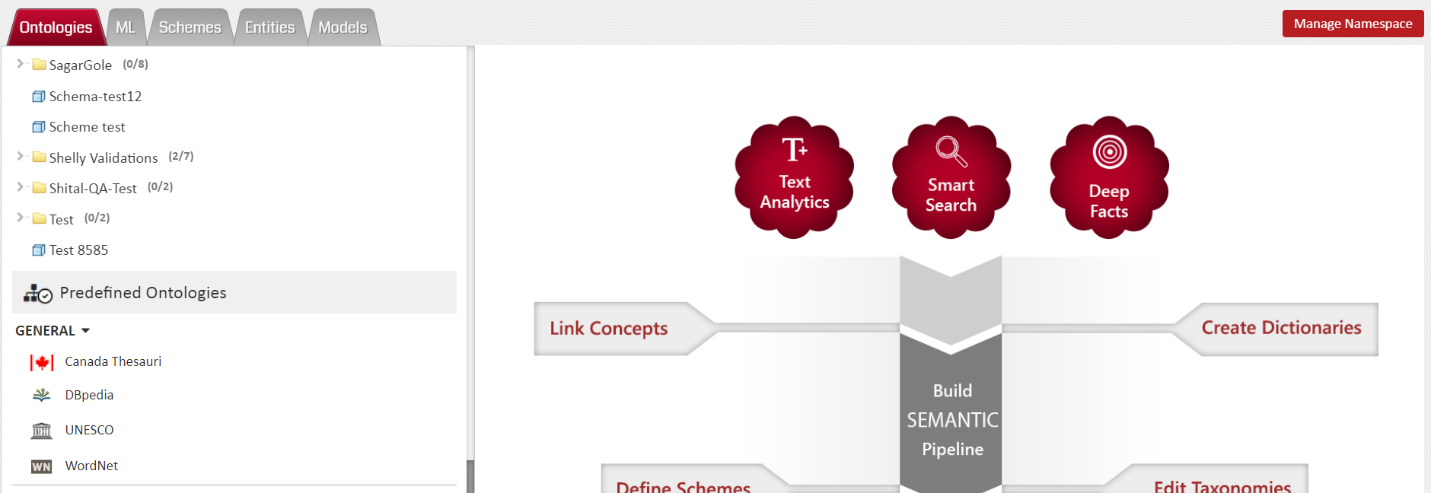
- These will be followed by list of Pre-defined Ontologies.
- Locate the Ontology you wish to edit in the list you see under ‘Managed Ontologies’.
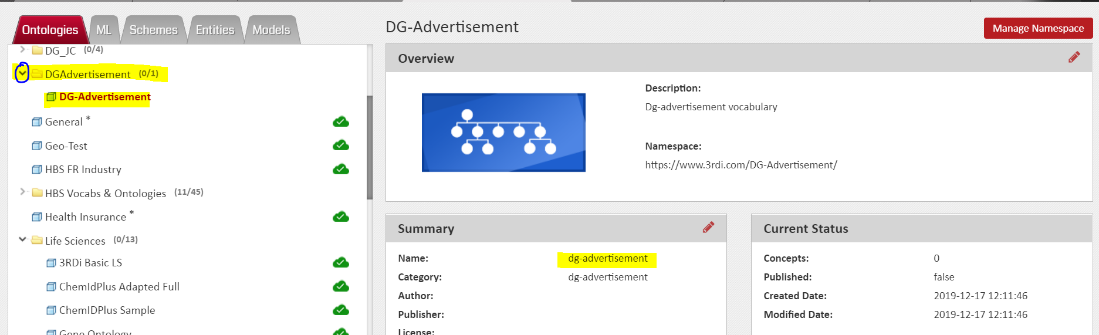
- Click on the Ontology name to Select it. Once selected, the ontology name will appear in ‘Red’ and the right panel will show details of the selected Ontology.
- If the Ontology is under a folder, you will have to expand the folder to see the Ontology. Once you locate it, click on it.
- You would see a few more indications and icons next to the Ontology name.
- Browsing and Editing Ontology’s concepts
- Viewing and editing Ontology’s meta-data and configurations.
- Deleting an Ontology
- Renaming an Ontology
- Publishing an Ontology
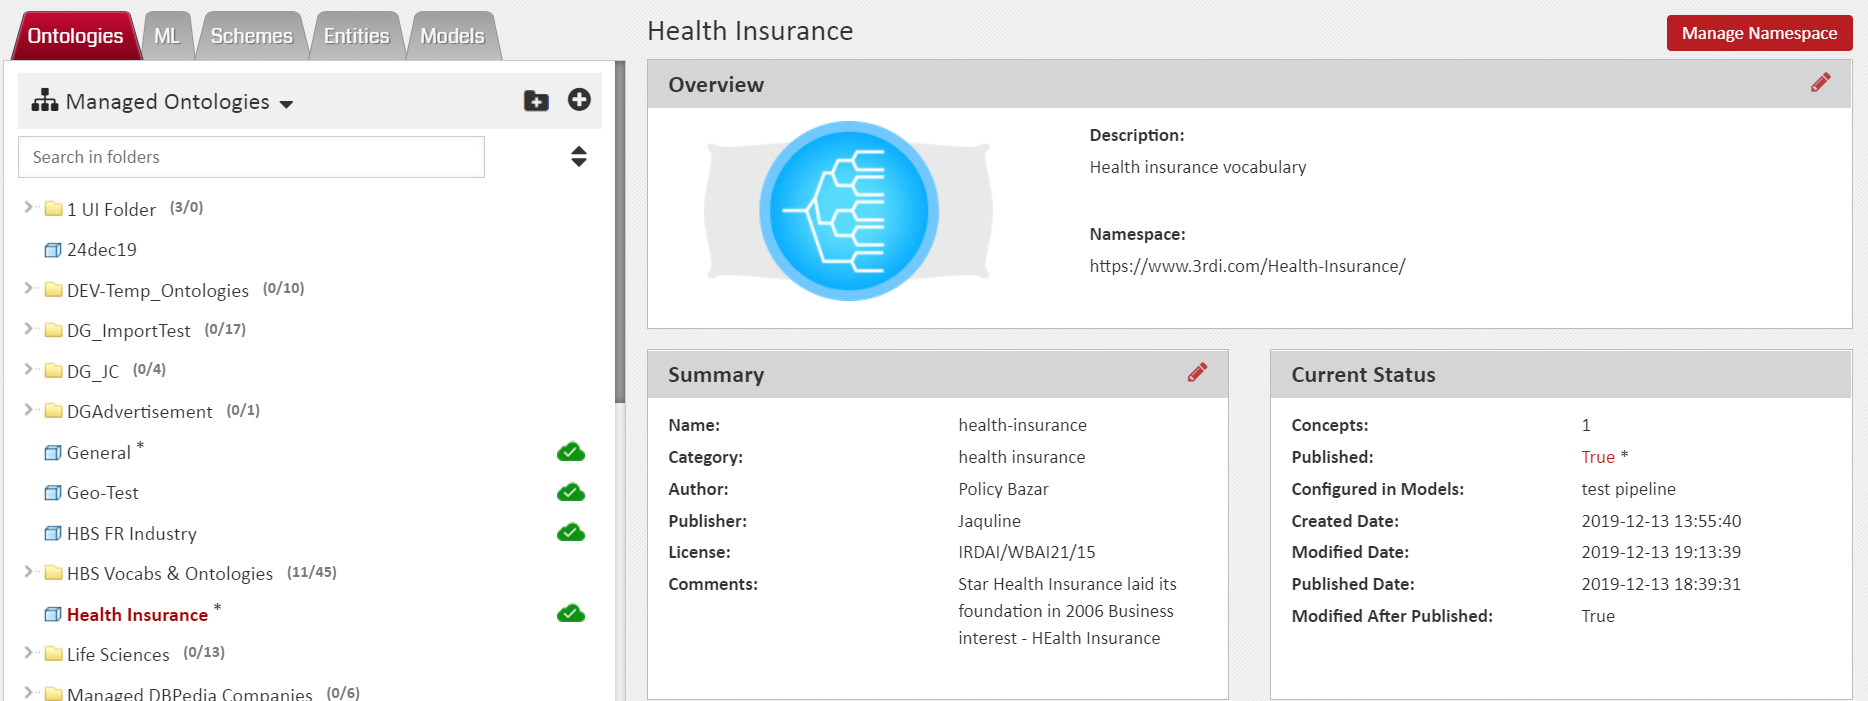

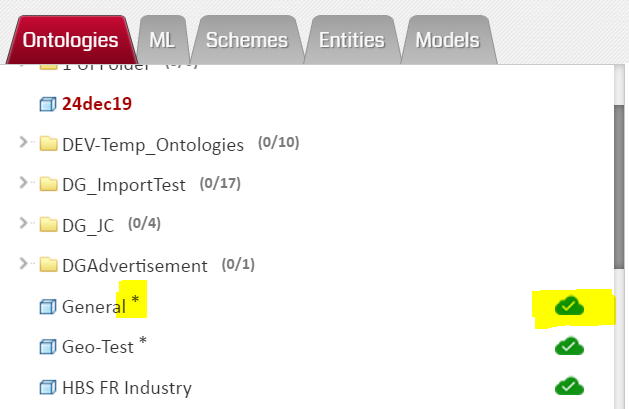
If the Ontology is Published, you would see a little green cloud next to the Ontology name in the Managed Ontologies List. Further, If the Ontology has unpublished changes, you would see an asterisk (*) next to Ontology name. This would happen if you have been editing your Ontology after Publishing it.
Selection of an Ontology is needed to initiate actions like:
When there are many Managed Ontologies, the list of ontologies you see may get quite lengthy making it tedious to locate and select a specific Ontology. To deal with such situations, 3RDi Studio provides a WindowsExplorer like foldering options in some modules and sub-modules. The ‘Ontologies’ tab is one such sub-module. With this, the Ontologies can be organized in folders and can also be searched.
 Disclaimer |
Privacy Policy
Disclaimer |
Privacy Policy