How to browse the Concept Tree and select a Concept
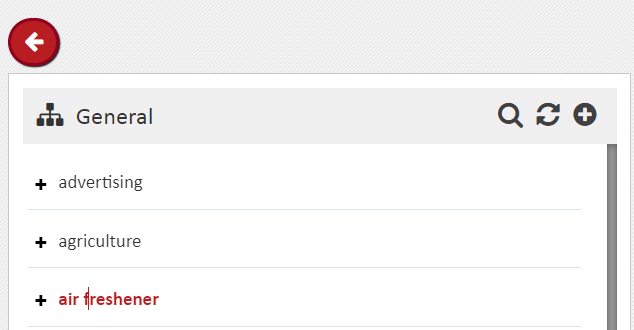
The browsing and selection is done in the Left Panel. When the Left Panel loads for the first time, the top-level concepts are displayed which can be expanded to see the narrower concepts.
To select a top-level concept, follow the below steps.
- Locate the Concept you wish to select. (If you cannot locate the Concept easily, you can also search for it. Searching ‘Concepts’ is explained later.)
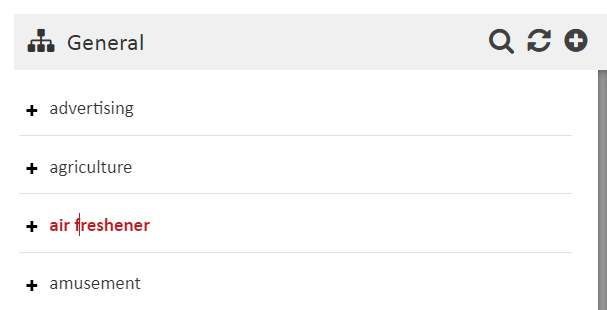
- Click on Concept name in order to select it.
- Once a Concept is selected, its name will be displayed in ‘red’ text color. Selecting a Concept opens the Concept’s details in the Right Panel.

The concepts that are not top-level concepts will not be visible by default since only the top-level concepts are displayed at first. However, the corresponding top-level Concept will be. To select a non-top-level concept, follow the below steps.
- To navigate to any such lower level concept, locate the corresponding top-level concept
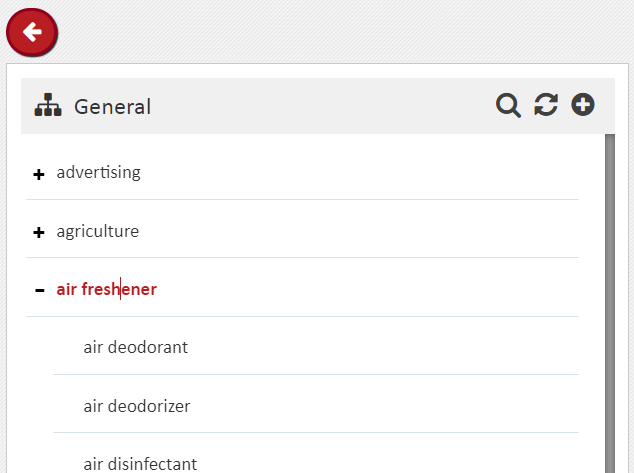
- You would see a ‘+’ to the left of the corresponding top-level Concept name.
- Click on the ‘+’ to the left of the Concept name. This will expand the concept, that is, show its immediate narrower concepts. The icon changes to ‘–‘ (minus) on expansion. Click ‘-‘ to collapse it back.
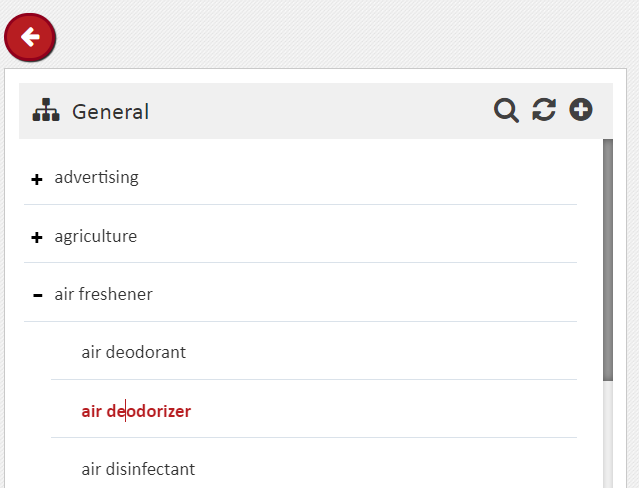
- Locate the Concept you wish to select.
- Click on Concept name in order to select it.
- Once a Concept is selected, its name will be displayed in ‘red’ text color.

The presence of a ‘+’ indicates that the Concept has some narrower concepts; the absence indicates that the concepts has no narrower concepts.


